


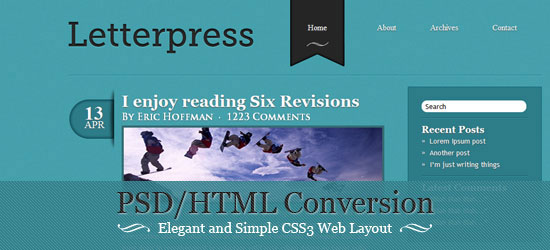
PSD/HTML Conversion: Elegant and Simple CSS3 Web Layout
This is Part 2 of tutorial series. The first part dealt with creating a web design mockup of an elegant and simple blog web design. You should do Part 1 before attempting this tutorial so that you to gain the most benefit.
Elegant and Simple Blog Web Layout Tutorial Series
This tutorial is the second part of a two-part tutorial series. This part (Part 2) will show you how to create an HTML/CSS web template for the PSD design created in Part 1.- Part 1: Make an Elegant and Simple Blog Web Layout Using Photoshop
- Part 2: PSD/HTML Conversion: Elegant and Simple CSS3 Web Layout
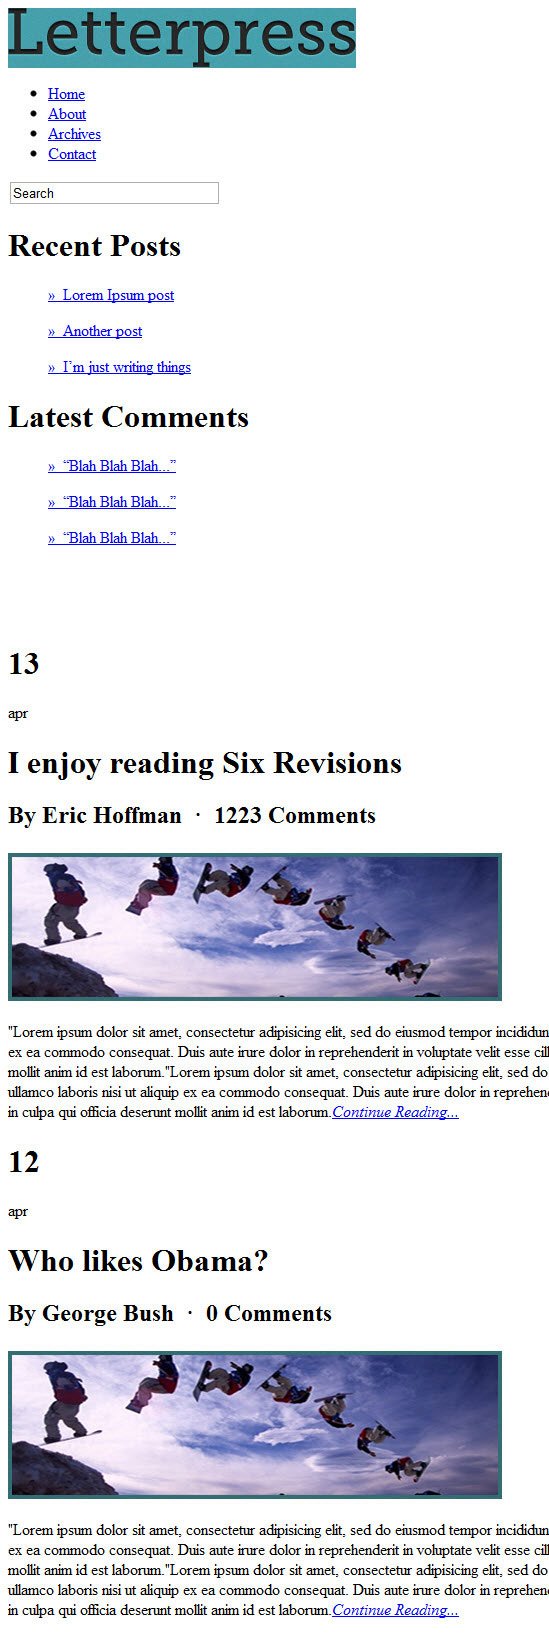
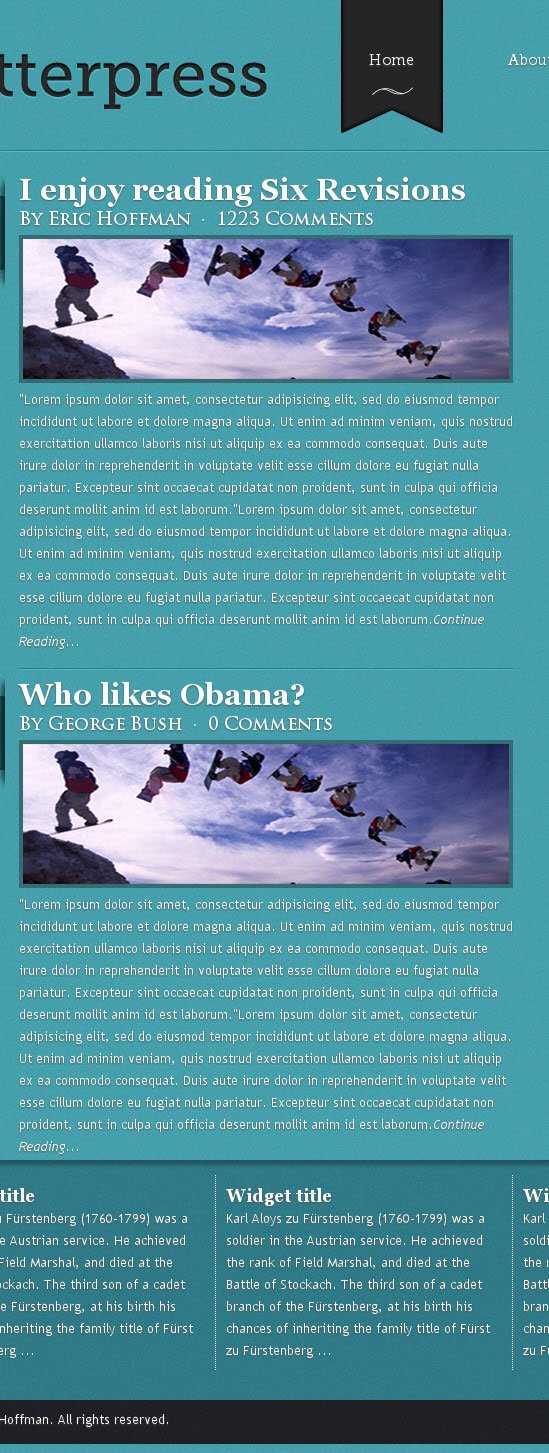
Final Result
Click on the final result preview below to see a live demo. Since we are using some CSS3, this demo might not look exactly the same in all browsers.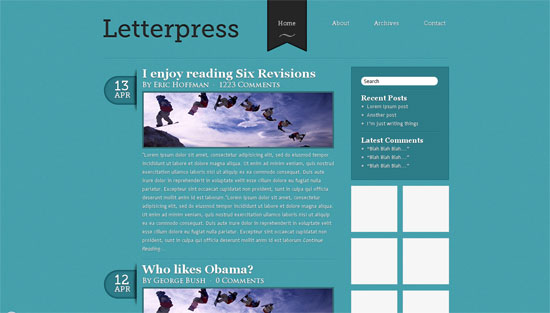
View Demo
Create the Basic Files
1 The first thing we’ll do is set up the files and folders. Create a new folder in your computer and name itletterpress. This will be our working directory.2 Create 2 folders inside the
letterpress folder and name them images and styles.3 Open up your favorite HTML/CSS editor (such as Dreamweaver or Notepad++) and create an HTML document. Name it
index.html or some other preferred file name. Save this HTML document inside the letterpress folder.4 Create a stylesheet document and name it
style.css (or any other name you want). Save this file inside the styles folder.Basic HTML
5 The code below goes inindex.html. The code represents common HTML markup.<!DOCTYPE HTML> <html> <head> <title>Letterpress</title> <meta http-equiv="content-type" content="text/html; charset=ISO-8859-1"> <link href="style.css" type="text/css" rel="stylesheet"> </head> <body> </body> </html>
Slice the Bookmark from the PSD
6 Now open up Photoshop and open the PSD we created together from Part 1 of this tutorial series.7 Hide all except all Photoshop layers except these layers:
- Datebg and shadow
- Headerdivider
- Navbarbg
- Logo
- Sidebar
- Sidebar divider
- Background
- Widgetbg
- Footerbg
- Image
- imagebg

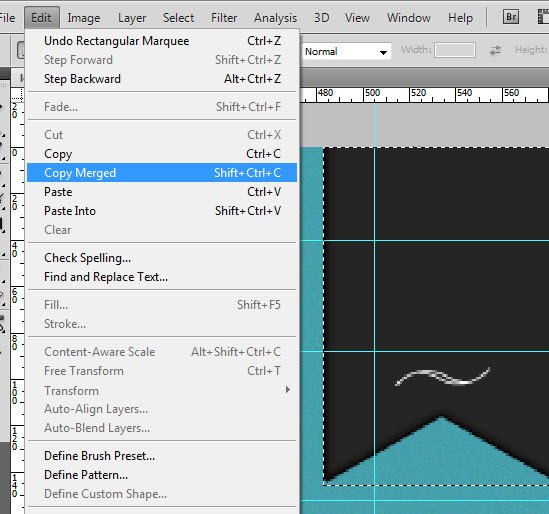
8 Use the Rectangular Marquee Tool (M) to select the bookmark that indicates the active page.

9 Copy the selection by going to Edit > Copy Merged (Ctrl/Cmd + Shift + C).
10 Open a new Photoshop document (Ctrl/Cmd +N); don’t change the canvas size because it will have automatically set it to the dimensions of the most current thing on your clipboard (the bookmark, in this case).
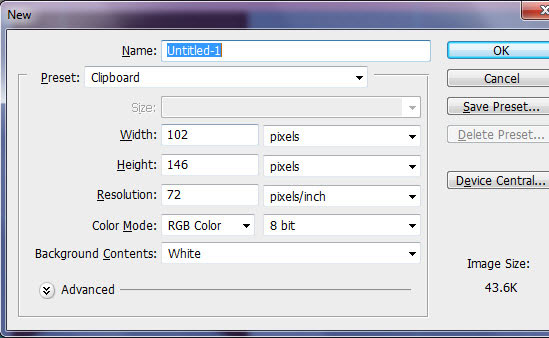
11 press Ctrl/Cmd + V (the keyboard shortcut for Edit > Paste) to paste the copied selection in the new Photoshop document.
12 Go to Edit > Save for the Web and save the new document as a JPG in the
images folder.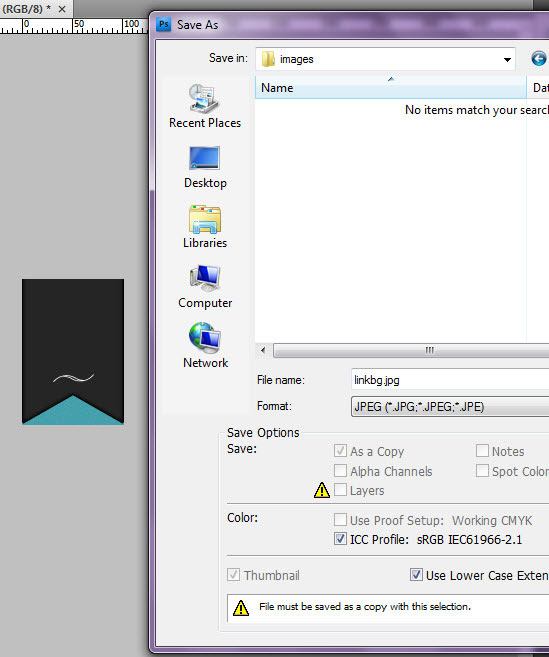
Write the HTML Markup
I usually code the HTML (with the classes and ids) first, and then write the CSS to style the site afterwards. This way I don’t have to switch back and forth and can keep my workflow compartmentalized. We’ll start writing the code for all the different sections of our design first, then style them later.Container
13 Create a div with the ID ofcontainer;
It will be used as a wrapper for all the elements except the footer.
We’re doing this so that we can easily center the layout later on.14 Create a div for the logo and insert the image of the site’s logo inside it. You can slice the logo from the PSD mockup using the same process as discussed earlier, or insert your own logo (preferred).
<!-- CONTAINER -->
<div id="container">
  <!-- LOGO -->
  <div id="logo">
    <img src="images/logo.jpg" width="348" height="60" title="logo" />
  </div>
Navigation Bar
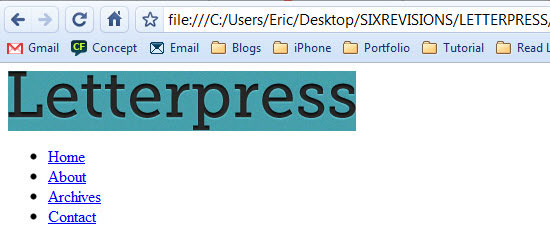
15 Next, we’ll create the navigation bar. Use an unordered list and add each navigation bar link as a list item. Add the ID offirstlink
to the first list item; this way you can add a background-image to the
current link (which is the bookmark that we sliced out of the PSD). Also
add a divider.<!-- NAVIGATION BAR -->
<div id="navigationbar">
<ul>
<li id="firstlink"><a href="#">Home</a></li>
<li><a href="#">About</a></li>
<li><a href="#">Archives</a></li>
<li><a href="#">Contact</a></li>
</ul>
</div>
<div id="dividerheader"></div>
Sidebar
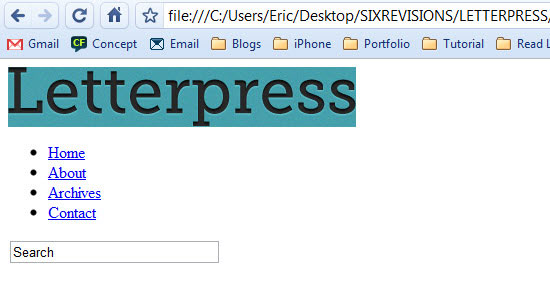
16 Create another div and give it the ID ofsidebar.17 Insert a form with an
input type="text" element.18 Change the default value of the input element to
Search, the size
attribute should be set to 29 (for 29 characters), and give it a
JavaScript event listener so that when the user focuses or leaves the
input element, it calls a function called clearText().Note: It’s highly advised to write JavaScript unobtrusively. Since we are going to gloss over JavaScript in this tutorial, I’ve decided to have this functionality inline. Please use unobtrusive JavaScript.
onFocus="clearText(this)" onBlur="clearText(this);This is the function that will handle the hiding/showing of the “Search” text inside the search input.
<script type="text/javascript">
function clearText(field)
{
  if (field.defaultValue == field.value) field.value = '';
  else if (field.value == '') field.value = field.defaultValue;
}
</script>
Here is our HTML markup for the sidebar and the search form.<!-- SIDEBAR -->
<div id="sidecolumn">
<!-- SEARCH -->
<form>
<input type="text" id="searchform" value="Search" size="29" onFocus="clearText(this)" onBlur="clearText(this)">
</form>
<div id="dividersidebar"></div>
Recent Posts and Latest Comments
19 Create two divs; give one the ID ofrecentposts and the other, latestcomments.20 Add a divider between them. Type some sample content in and be sure to add a heading and paragraph elements. Use HTML character codes for the right-pointing double angle quotes (») which is
». You can find a full list of HTML character codes here. I used <li> tags for each comment/post name, and will style them later.<!-- RECENT POSTS -->
<div id="recentposts">
<h1>Recent Posts</h1>
<ul>
<li><a href="#">» Lorem Ipsum post</li>
<li><a href="#">» Another post</a></li>
<li><a href="#">» I'm just writing things</a></li>
</ul>
</div>
<div id="dividersidebar"></div>
<!-- LATEST COMMENTS -->
<div id="latestcomments">
<h1>Latest Comments</h1>
<ul>
<li><a href="#">» "Blah Blah Blah..."</a></li>
<li><a href="#">» "Blah Blah Blah..."</a></li>
<li><a href="#">» "Blah Blah Blah..."</a></li>
</ul>
</div>

Sidebar Web Banners
Every blog has advertising zones these days, why shouldn’t ours?21 Inside the
#sidebar div, add another div that will contain our web banners.22 The first two web banners need to have the ID of
adrightfirst (for right one) and adleftfirst (for the left one). Since we only have enough space for two ads in one row, you have to add a line break for every row.<!-- ADVERTISING --> <div id="adrightfirst"></div> <div id="adleftfirst"></div> <br /> <div class="adright"></div> <div class="adleft"></div> <br /> <div class="adright"></div> <div class="adleft"></div> <br /> <div class="adright"></div> <div class="adleft"></div> </div> <!-- END OF SIDEBAR -->
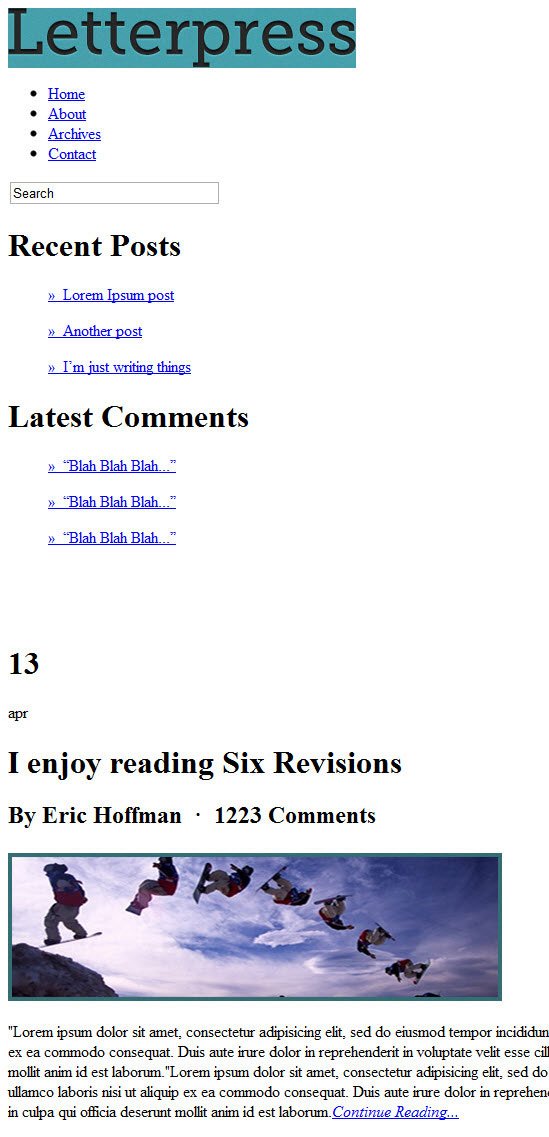
Posts
Onto the markup for the blog posts.23 Create a
date1, datetext1 and post1 div.24 Add the date (day using
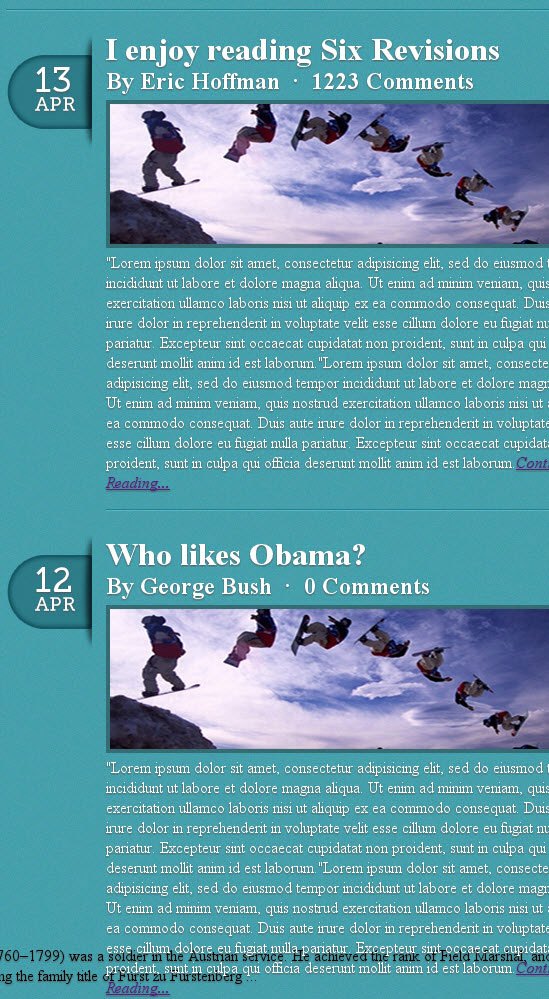
<h1>, month in <p>), the title (using <h1>), metadata of the post (using <h2>) and some content (in <p>‘s).25 Copy the entire post div, and paste it beneath (to create another blog post entry). Insert a divider between both posts. Don’t forget to change the numbers (
date1 to date2).<!-- DATE ONE -->
<div id="date1">
<div id="datetext">
<h1>13</h1>
<p>apr</p>
</div>
</div>
<!-- POST ONE -->
<div id="post1">
<h1>I enjoy reading Six Revisions</h1>
<h2>By Eric Hoffman · 1223 Comments </h2>
<img src="images/snowboard.jpg" title="snowboard" style="margin: 5px 0px 5px 0px"/>
<p> "Lorem ipsum dolor sit amet, consectetur adipisicing elit, sed do eiusmod tempor incididunt ut labore et dolore magna aliqua. Ut enim ad minim veniam, quis nostrud exercitation ullamco laboris nisi ut aliquip ex ea commodo consequat. Duis aute irure dolor in reprehenderit in voluptate velit esse cillum dolore eu fugiat nulla pariatur. Excepteur sint occaecat cupidatat non proident, sunt in culpa qui officia deserunt mollit anim id est laborum."Lorem ipsum dolor sit amet, consectetur adipisicing elit, sed do eiusmod tempor incididunt ut labore et dolore magna aliqua. Ut enim ad minim veniam, quis nostrud exercitation ullamco laboris nisi ut aliquip ex ea commodo consequat. Duis aute irure dolor in reprehenderit in voluptate velit esse cillum dolore eu fugiat nulla pariatur. Excepteur sint occaecat cupidatat non proident, sunt in culpa qui officia deserunt mollit anim id est laborum.<a href="#"><i>Continue Reading... </i></a></p>
<div id="dividerpost"></div>
</div>
<!-- DATE TWO -->
  <div id="date2">
    <div id="datetext">
      <h1>12</h1>
      <p>apr</p>
    </div>
  </div>
<!-- POST TWO -->
  <div id="post2">
    <h1>Who likes Obama?</h1>
    <h2>By George Bush  ·  0 Comments </h2>
    <img src="images/snowboard.jpg" title="snowboard" style="margin: 5px 0px 5px 0px"/>
    <p> "Lorem ipsum dolor sit amet, consectetur adipisicing elit, sed do eiusmod tempor incididunt ut labore et dolore magna aliqua. Ut enim ad minim veniam, quis nostrud exercitation ullamco laboris nisi ut aliquip ex ea commodo consequat. Duis aute irure dolor in reprehenderit in voluptate velit esse cillum dolore eu fugiat nulla pariatur. Excepteur sint occaecat cupidatat non proident, sunt in culpa qui officia deserunt mollit anim id est laborum."Lorem ipsum dolor sit amet, consectetur adipisicing elit, sed do eiusmod tempor incididunt ut labore et dolore magna aliqua. Ut enim ad minim veniam, quis nostrud exercitation ullamco laboris nisi ut aliquip ex ea commodo consequat. Duis aute irure dolor in reprehenderit in voluptate velit esse cillum dolore eu fugiat nulla pariatur. Excepteur sint occaecat cupidatat non proident, sunt in culpa qui officia deserunt mollit anim id est laborum.<a href="#"><i>Continue Reading... </i></a></p>
  </div>
</div>
<!-- END OF CONTAINER -->
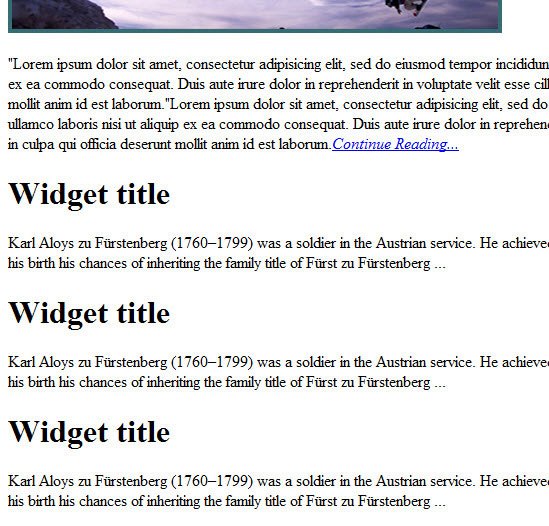
Footer Widgets
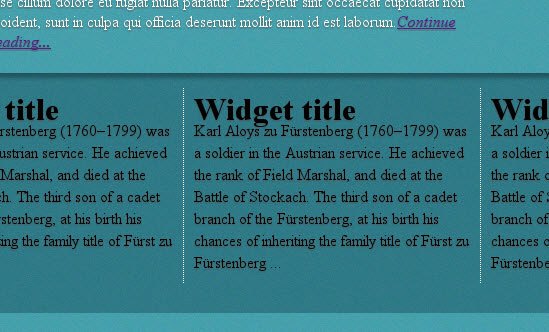
26 Create another div and give it an ID offooterwidgets. Place a div with the ID footerwidgettext inside this div. Insert three divs with different ids. For example: footerwidgettextfirst, footerwidgettextmiddle, and so forth. The reason for having unique IDs is each one will have different margins, so we can’t use a class.<!-- FOOTERWIDGETS -->
<div id="footerwidget">
<div id="footerwidgettext">
<!-- WIDGET ONE -->
<div id="footerwidgettextfirst">
<h1>Widget title </h1>
<p>Karl Aloys zu Fürstenberg (1760-1799) was a soldier in the Austrian service. He achieved the rank of Field Marshal, and died at the Battle of Stockach. The third son of a cadet branch of the Fürstenberg, at his birth his chances of inheriting the family title of Fürst zu Fürstenberg ...</p>
</div>
<!-- WIDGET TWO -->
<div id="footerwidgettextmiddle">
<h1>Widget title </h1>
<p>Karl Aloys zu Fürstenberg (1760-1799) was a soldier in the Austrian service. He achieved the rank of Field Marshal, and died at the Battle of Stockach. The third son of a cadet branch of the Fürstenberg, at his birth his chances of inheriting the family title of Fürst zu Fürstenberg ...</p>
</div>
<!-- WIDGET THREE -->
<div id="footerwidgettextlast">
<h1>Widget title </h1>
<p>Karl Aloys zu Fürstenberg (1760-1799) was a soldier in the Austrian service. He achieved the rank of Field Marshal, and died at the Battle of Stockach. The third son of a cadet branch of the Fürstenberg, at his birth his chances of inheriting the family title of Fürst zu Fürstenberg ...</p>
</div>
</div>
</div>
<!-- END OF FOOTER WIDGETS -->
Footer
We’re going to use a simple footer section.27 Just as the
#footerwidgets div, the #footer
div will be 100% width, but the text will be aligned with the rest of
the content (centered). That’s why we’ll create another div inside it
with the ID of footertext. Add the footer content inside #footertext.<!-- FOOTER -->
<div id="footer">
<div id="footertext">
<p>© 2010 Eric Hoffman. All rights reserved.</p>
</div>
</div>
<!-- END OF FOOTER -->
</body>

That’s all for the markup; let’s move on to CSS.
Write the CSS
So, we’re done with our HTML. Now we’ll tackle our styles.28 First thing’s first: open up the
style.css file you created at the beginning. Make sure your HTML file links to it correctly.CSS Reset
29 First, we’ll use a simple CSS reset to zero out our styles. I encourage you to read more about CSS reset to fully understand the importance of it; this article on CSS Reset is a good place to start. For berevity, I just used the* selector here.* {
margin:0;
padding:0;
}
Body Background and @font-face
30 Next, change the body background to the image of the blue background with noise in our PSD mockup. Slice it out of the PSD mockup for practice (I’ve also included it in the downloadable source file below asbackground.jpg).31 Also, we’ll add the CSS3
text-shadow element.0 is the x-offset, 1px is the y-offset, 2px is the blur and #555 is the color of the shadow. @font-face allows us to embed non-websafe fonts so that all the viewers can see the site the way we do. You can read all about @font-face through this guide titled The Essential Guide to @font-face.body {
background:url("../images/background.jpg") repeat;
text-shadow:0 1px 2px #555;
}
@font-face {
font-family:"Museo Slab 500";
src:url("http://hatchergraphics.com/MuseoSlab-500.otf");
}
Wrapper/Navigation
32 We’ll now create a container as a wrapper so that we can center our design easily. I like creating pixel-perfect designs, so I chose a fixed-width layout. If you want to see other layout types, check out this guide titled A Guide on Layout Types in Web Design. To center the container, just usemargin: 0 auto; (thanks to the Smashing Book and its chapter on layout types, which coincidentally was co-written by Six Revisions founder, Jacob Gube).33 Add styles to the navigation bar.
#firstlink
is the current link. If you wish to expand the design and add all four
pages, you’ll have to change the ID of the list. For example, if I’m on
the "About" page, the About list item should have the ID of firstlink. To center the background image, use background-position: center;.#container {
height: 1000px;
margin:0 auto;
width:890px;
}
#navigationbar {
height:auto;
margin:50px 0 80px 390px;
width:650px;
}
#navigationbar ul li {
display:inline;
font-family:"Museo Slab 500";
font-size:15px;
}
#navigationbar ul li a {
color:#FFF;
padding:74px 30px;
text-decoration:none;
}
#navigationbar ul li a:hover {
color:#DBDBDB;
text-decoration:none;
}
#firstlink {
background:url("../images/linkbg.jpg") no-repeat;
background-position:center;
color:#FFF;
padding:74px 30px;
text-decoration:none;
}

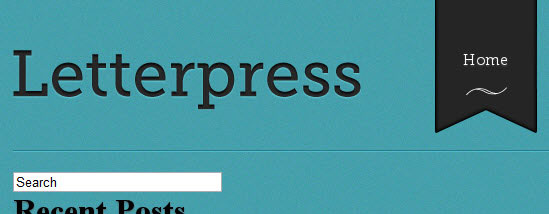
Logo/Divider
34 The logo height and width depends on your website name. It turns out that "Letterpress" at 65pt (in Photoshop) is 60px high and 348px wide.35 Next style the divider. Here you can use a 2px-high empty div, a span, or style your header to have a 2px-high border at the bottom. I used the same background image as I we’ll use with the post divider.
#logo {
  float:left;
  height:60px;
  width:348px;
}

#dividerheader {
  background:url("../images/dividerpost.jpg") repeat-x;
  height:2px;
  margin-bottom:20px;
  width:890px;
}
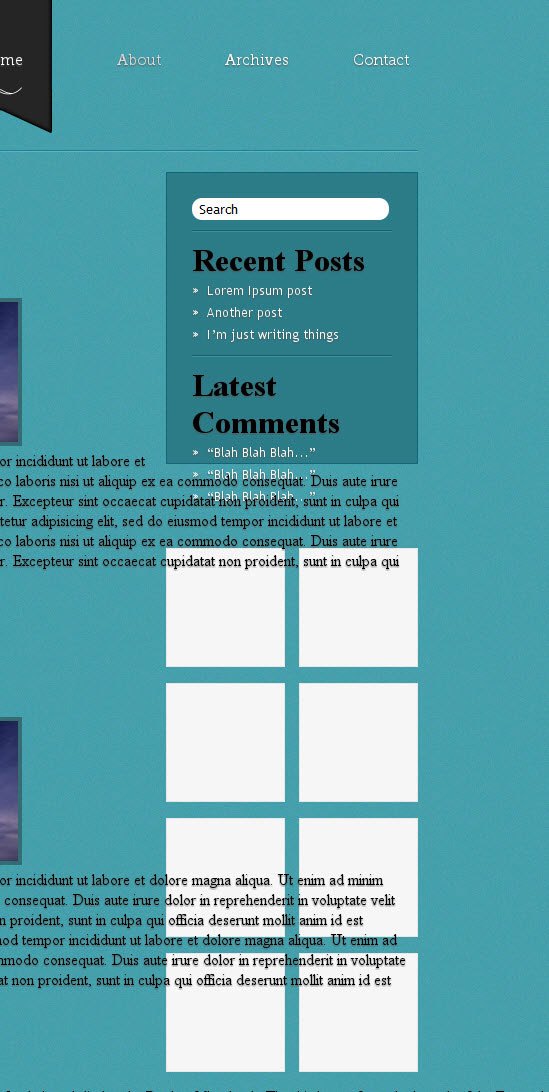
Sidebar
36 Next, we will style the sidebar. Since the post divs are going to be 500px wide and I’d like a little margin between the posts and the sidebar, I chose 250px for the width of the sidebar.37 Style the divider, the
recentposts and latestcomments and the search bar. Here we’re going to use another CSS3 property called border-radius.
This means we can create rounded corners using only CSS. Unfortunately
this feature isn’t supported by all browsers, so it will not look
rounded in all browsers (such as IE8 and below).38 Style all the ad elements and make sure the math is correct (together, they can’t be wider than 250px).
#sidecolumn {
  background-color:#2c7c88;
  border:1px solid #116678;
  float:right;
  height:240px;
  padding:25px 0;
  width:250px;
}

#dividersidebar {
  background:url("../images/dividersidebar.jpg");
  height:2px;
  margin-bottom:10px;
  margin-left:25px;
  margin-top:10px;
  width:200px;
}

#recentposts,#latestcomments {
  margin-bottom:10px;
  margin-left:25px;
  width:200px;
  word-wrap:break-word;
}

#recentposts ul a,#latestcomments ul a {
  color:#FFF;
  display:block;
  font-family:"Trebuchet MS";
  font-size:13px;
  line-height:22px;
  list-style-type:none;
  text-decoration:none;
}

#searchform {
  -moz-border-radius:10px;
  -webkit-border-radius:10px;
  background-color:#FFF;
  border:0;
  font-family:"Trebuchet MS";
  font-size:13px;
  margin-left:25px;
  padding:2px 6px;
}

#adrightfirst {
  float:right;
  margin-right:-1px;
  margin-top:31px;
}

#adleftfirst {
  float:left;
  margin-left:-1px;
  margin-top:31px;
}

#adright {
  float:right;
  margin-right:-1px;
  margin-top:16px;
}

#adleft {
  float:left;
  margin-left:-1px;
  margin-top:16px;
}

#adright,#adleft,#adrightfirst,#adleftfirst {
  background-color:#f6f6f6;
  border:1px solid #e7e7e7;
  height:117px;
  width:117px;
}

#adright:hover,#adleft:hover,#adrightfirst:hover,#adleftfirst:hover {
  background-color:#e7e7e7;
  border:1px solid #dbdbdb;
}
Posts
39 Next up: the posts. We’ll create two post divs: one namedpost1, and the other we’ll call post2.40 We’ll do the same with the date. As I mentioned before, both post divs should be 500px wide. Position them both with margin, and add a
padding-left of -90px. The position property should be set to absolute.41 Create another divider, but this time, it should be as wide as the post.
#post1 {
  color:#FFF;
  float:left;
  height:auto;
  margin:10px 0 0 10px;
  padding-left:90px;
  position:absolute;
  width:500px;
}

#post2 {
  color:#FFF;
  float:left;
  height:auto;
  margin:525px 0 20px 10px;
  padding-left:90px;
  position:absolute;
  width:500px;
}

#dividerpost {
  background:url("../images/dividerpost.jpg") repeat-x;
  height:2px;
  margin-bottom:20px;
  margin-top:16px;
  width:495px;
}

#date1 {
  background:url("../images/datebg.jpg")no-repeat;
  float:left;
  height:123px;
  width:90px;
}

#date2 {
  background:url("../images/datebg.jpg")no-repeat;
  float:left;
  height:123px;
  margin-left:-90px;
  margin-top:500px;
  width:90px;
}

#datetext {
  height:46px;
  margin:0 auto;
  padding-top:38.5px;
  width:31px;
}

#datetext p {
  color:#FFF;
  font-family:"Museo Slab 500";
  font-size:20px;
  text-transform:uppercase;
}

#datetext h1 {
  color:#FFF;
  font-family:"Museo Slab 500";
  font-size:35px;
  line-height:22px;
}
Footer Widgets
Almost done!42 Footer widgets: As you saw with the HTML, the footer and the footer widgets are placed outside of the container so that they aren’t restricted by the 890px width of our wrapper. Both should be 100% wide.
43 Add the background, height (240px), and the top margin. I created a
#footerwidget
div, a text div, and then three more divs for the separate widgets. Add
the same styles to all of them — the only differences being the borders
and the margins.#footerwidget {
background:url("../images/widgetbg.jpg");
height:240px;
margin-top:110px;
width:100%;
}
#footerwidgettext {
height:240px;
margin:0 auto;
width:890px;
}
#footerwidgettextfirst {
border-right:1px dotted #FFF;
float:left;
height:165px;
line-height:22px;
margin-top:15px;
padding:10px 10px 20px;
position:absolute;
width:276px;
}
#footerwidgettextlast {
float:left;
height:165px;
line-height:22px;
margin-left:594px;
margin-top:15px;
padding:10px 10px 20px;
position:absolute;
width:276px;
}
#footerwidgettextmiddle {
border-right:1px dotted #FFF;
float:left;
height:165px;
line-height:22px;
margin-left:297px;
margin-top:15px;
padding:10px 10px 20px;
position:absolute;
width:276px;
}
Footer
44 The footer’s height is 44px. Add a background. Theposition should be absolute
so that it is always at the bottom. Similar to the footer widgets, I
created another div for the text so I can center it and align it to the
main content area. Here I used the margin: auto 0; CSS property to center it. The 10px are the top-margin.#footer {
background:url("../images/footer.jpg") repeat-x;
height:44px;
position:absolute;
width:100%;
}
#footertext {
height:44px;
margin:10px auto 0;
width:890px;
}

45 The following styles apply to various elements; I just grouped them together.
#recentposts h1,#latestcomments h1,#footerwidgettextfirst h1,#footerwidgettextmiddle h1,#footerwidgettextlast h1 {
  color:#FFF;
  font-family:"Georgia";
  font-size:18px;
}

#post1 h1,#post2 h1 {
  font-family:"Georgia";
  font-size:30px;
}

#post1 h2,#post2 h2 {
  font-family:"Trajan Pro";
  font-size:18px;
}

#post1 p,#post2 p {
  font-family:"Trebuchet MS";
  font-size:13px;
  line-height:22px;
}

#post1 a,#post2 a {
  color:#FFF;
  text-decoration:none;
}

#post1 a:hover,#post2 a:hover {
  border-bottom:1px dotted #FFF;
}

#footerwidgettextfirst p,#footerwidgettextmiddle p,#footerwidgettextlast p,#footertext p {
  color:#FFF;
  font-family:"Trebuchet MS";
  font-size:13px;
}
We’re Done!
I hope you enjoyed following along with this tutorial. Please pose your questions and thoughts in the comments below.Download Source


0 التعليقات:
Post a Comment