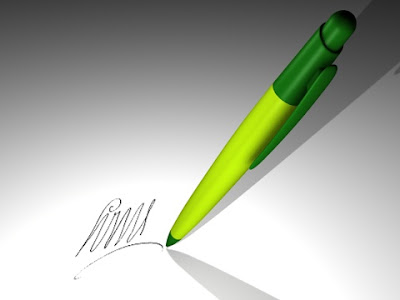
In this Cinema 4d tutorial I will show you how to make a pen. We will use such Nurbs as Loft NURBS, HyperNURBS, Sweep NURBS. I will show you how to use these objects to achieve desired effects.
At first let’s create five circles (Object->Spline Primitive->Circle) with the following values:
Circle1 = 18 Circle2 = 20 Circle3 = 19 Circle4 = 16 Circle5 = 12
Check Radius of each of the Circles and set Inner Radius, that is two points lower then Radius.
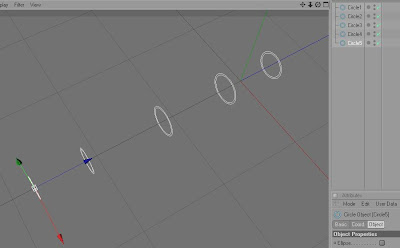
Create Loft NURBS, then insert all circles into this object. Click two dots (which are on the right side of the object name) twice to have two dots red.

When upper dot is red an object is invisible on the working area, when second dot is red an object is invisible to render.
Create a Capsule, set P to 90, make object editable, select Use Point Tool, and with Live Selection Tool (remember to have Only Select Visible checked) select middle point of the Capsule.
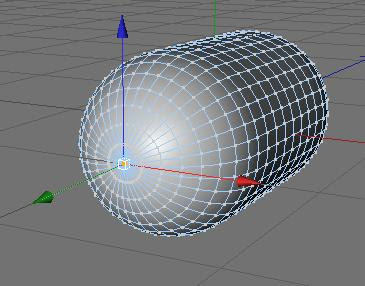
Select Move Tool (“E”) , and in Attribute Manager in Soft Selection check Enable. Drag green line.
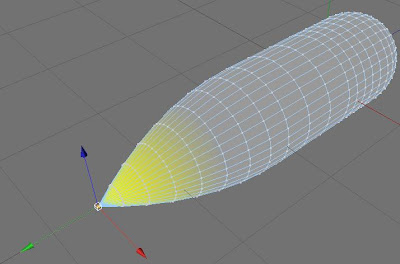
Choose Use Polygon Tool and delete polygons as shown on the image.
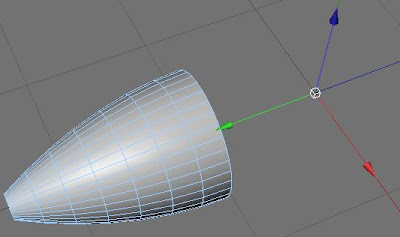
Use Object Axis Tool to drag arrows inside object. When you click on Use Point Tool you will see that you have excessive points.
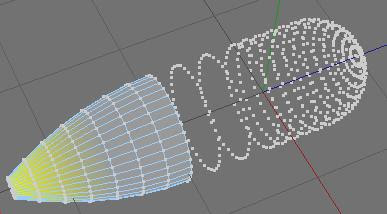
When you have the Capsule selected, select all points (Crtl-A), Right Click on the object and from context menu select Optimize, then click “OK”.
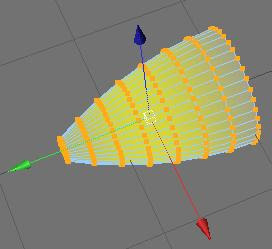
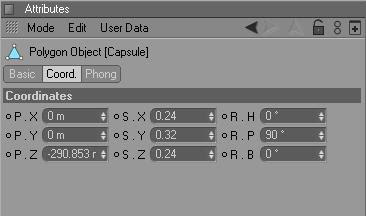
Turn on the first object. Make second object smaller to fit (change Coord. XYZ).
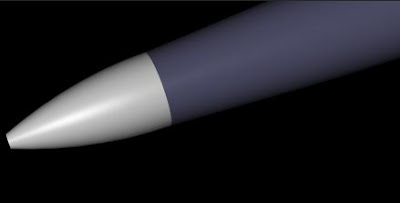
Cut some polygon from grey object as shown on the image below.
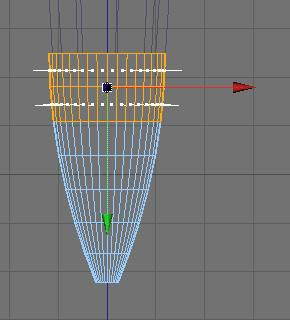
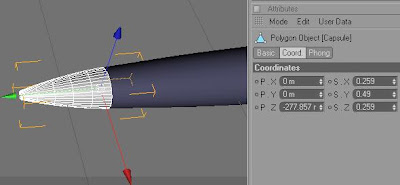
Create two circles. Set Radius to 18 and 14, and set ring two points smaller than circles.
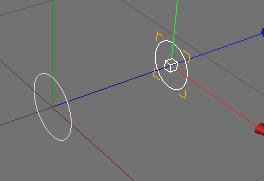
Create Loft NURBS and insert the circles inside the Nurbs. Render image.
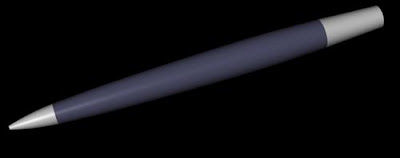
Make object editable, select three objects (Loft NURBS, Cap 1, Cap 2), connect them and then delete, select object that have appeared, go to Right view, select Edge Tool, select knife (visible only unchecked). Make a cut.
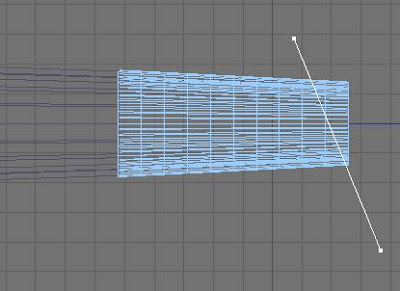
Select Polygon Tool and delete polygons that you cut off. Zoom image to make sure all polygons are deleted. Select Point Tool and delete all point excessive points.
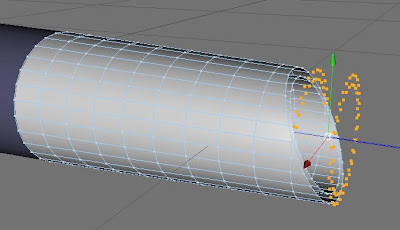
Select Edge Tool, click right button and then Bridge Tool. Connect all edges in the circle.
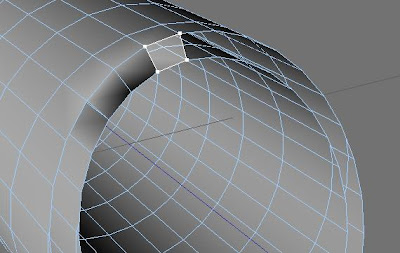
Insert object into HyperNURBS
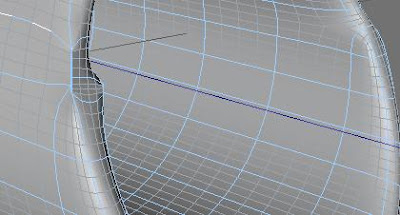
Some distortions have appeared, so let’s fix it. Select polygons you want to connect. Make it all around the hole and select Dissolve.
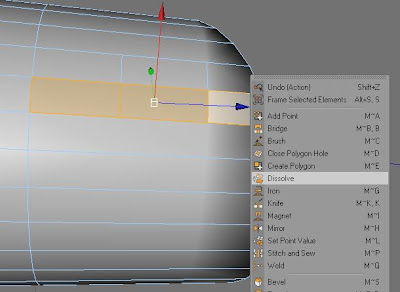
And inside.
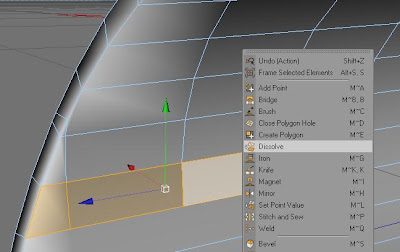
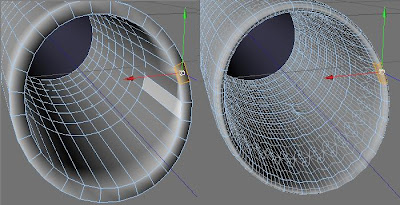
I think it’s ok now, but we can make a cut with knife.
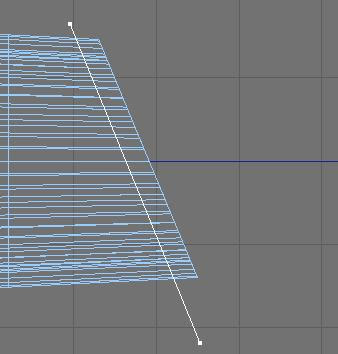
Delete all bad points, that we don’t need anymore.
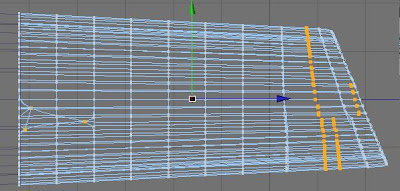
Render image.
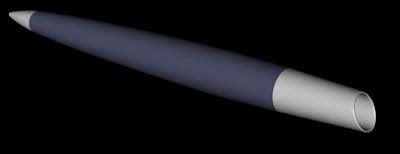
Now we will make a button. Create second capsule (Radius = 12, Height = 50). Fit it in the right position.
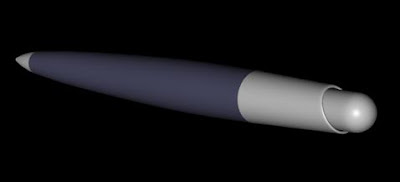
Create Sweep NURBS, Rectangle, and Spline, select akima (you can select another type of spline if you wish).
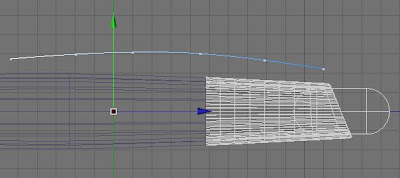
Insert into the Sweep NURBS, first Rectangle, second Spline. In the Rectangle change Width to 6 Height to 20. Select the Sweep NURBS. Go to the Object tab, rollout Details and set the scale.
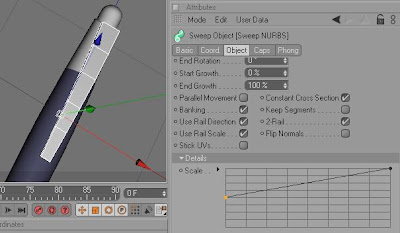
Select the Sweep NURBS, make object editable. Now Select the object that you made editable, and two objects inside it, connect them, and delete. Create HyperNURBS and insert new object into it. Disable HyperNURBS for a moment, clicking green “check” icon, next to name of the object. Now delete the polygon. Select Right Click -> Close Polygon Hole.
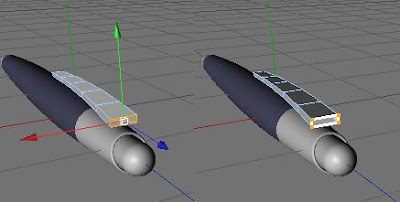
Now you can enable the HyperNURBS. Click on it and set Subdivision Editor to 3. Delete second polygon, and once again select Close Polygon Hole. Create two rectangles and Loft NURBS and make another object.

Right Click on any of the Object you have created and select Fold All. Click on the first object and then holding a shift click on the last object, now when you have all objects selected, Right Click and select Group Objects (Alt-G).
We have to create last object which consist of three primitive objects (Cone, Sphere and Cylinder). Create a cylinder, set P to 90 and Radius to 5. Create Cone, set P to 90, Bottom Radius to 5 and Height to 12.
Make the Cone editable and delete a tip.
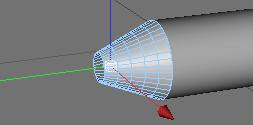
Create a Sphere and insert it into the hole. Select Cone, Cylinder and Sphere and group them. Change XYZ values in Coord. tab to make object smaller. Insert refill inside a pen. Add some textures.


1 التعليقات:
nice tuto keep it new please
Post a Comment